373 Project Overview
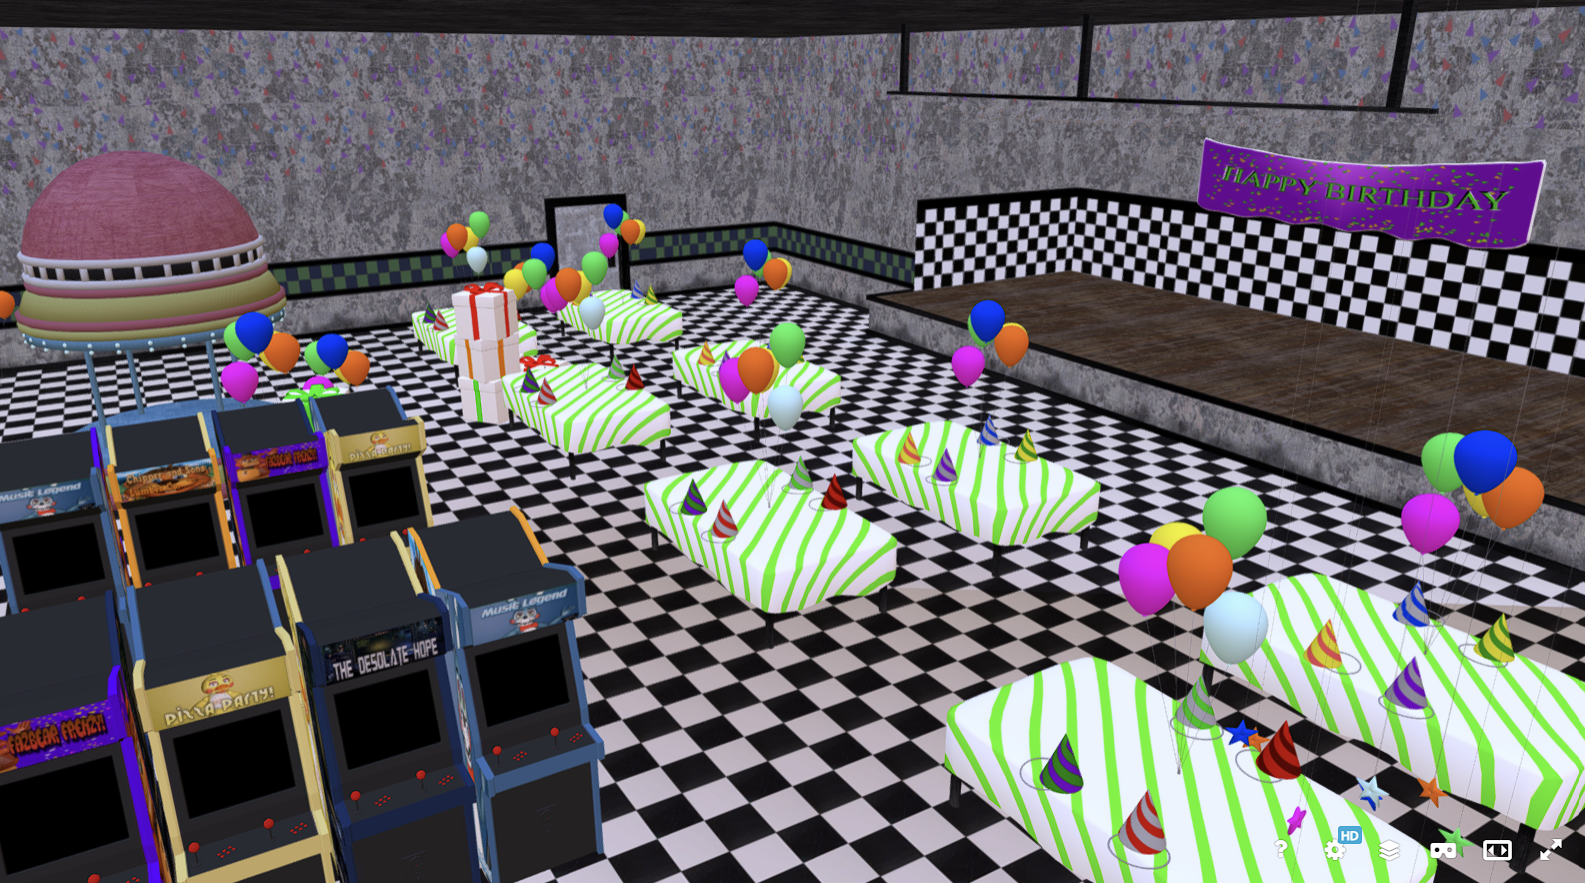
In this project, I worked with my team members to recreate Five Nights at Freddy's 2 in Unity using 3D models, textures, SFX, and interactable props.
Partial Walkthrough:
--------------------------------------------------------------------------------------------------------------
WEEK 5 SPRINT REVIEW
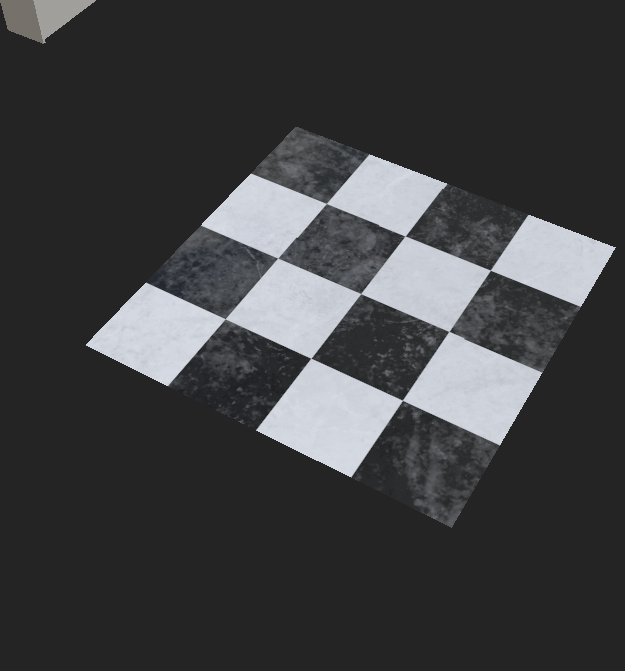
This week I had to do final touch-ups On UVs and begin texturing all my models, I realized the UV's I had weren't formed in a way that would allow me to separately texture individual parts of the modular walls that I had, so I had to spend most of my time reorganizing the UV's that I had previously made.
This took a lot longer than I thought because I essentially had to redo the entire block out on top of adding in the new pieces I had made from the previous sprints. It was a little annoying but I think it was good since I added new doorways, extended some parts of the building, and also added the roofs.
----------------------------------------------------------------------------------------------------------------------------
The last thing I worked on was security cameras. I modeled the ones I made after the old CCTV cameras to give it a retro feel like something that would exist in the 90's.
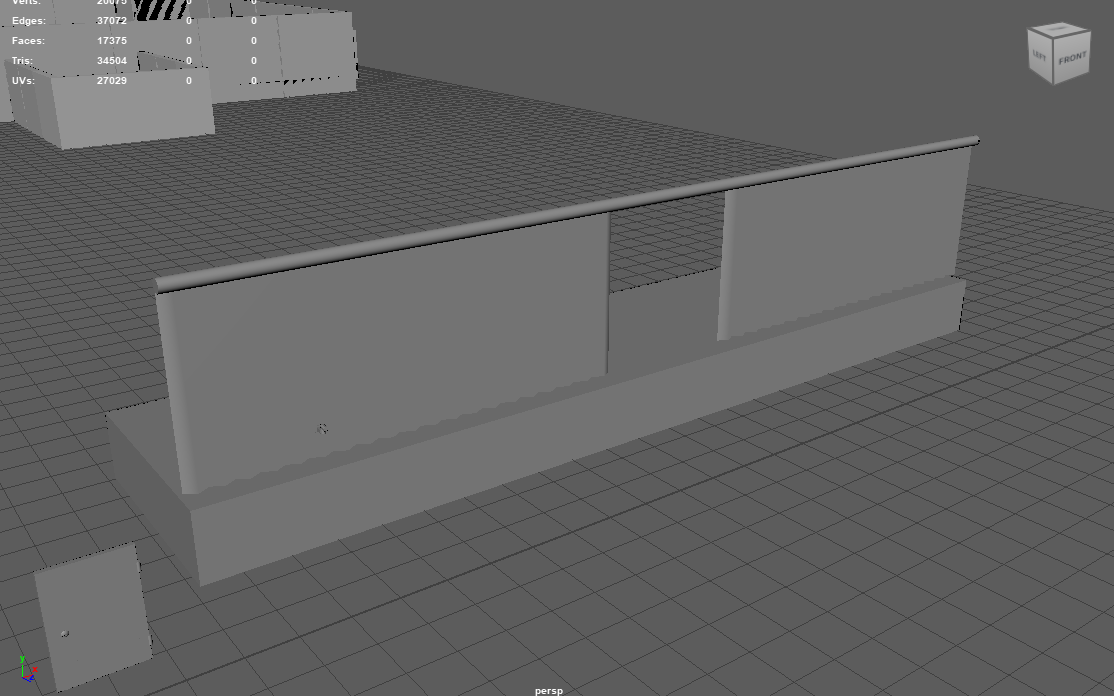
For both the door and the camera, I made sure to add pivot points to the parts that will eventually be moving and rotating in the scene.
I also UV'd all of these props and will make sure to texture them accordingly. I had to fix some issues with my previous color ID's which I may end up scrapping altogether because they ended up glitching. If I think I can ID my stuff though I will.
----------------------------------------------------------------------------------------------------------------------------
WEEK 3 SPRINT REVIEW
This week my focus was on modeling a few more modular pieces and creating a basic blockout of the building layout.
The first thing I started with was creating even more modular pieces to begin further creating the lockout. I have vent pieces set up so that we can throw them inside Unity and begin to test a player controller crouching mechanic, so those came first as a priority. While I was working on the blockout I decided to wind up making a few more pieces to include like a trim and a roof piece so that I could have an easier time creating the blockout.
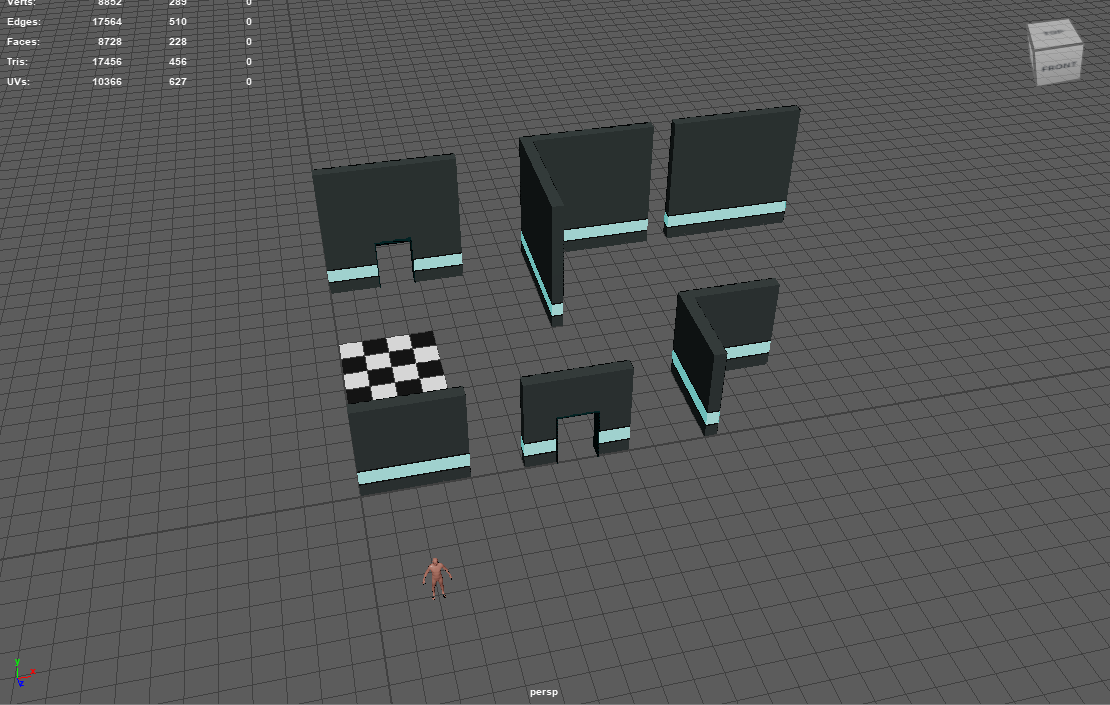
However, what I spent the most amount of time doing was making the blockout that I would use to create the last few pieces. It's not completely done yet, and some of the pieces that are there right now won't be the same, but it's mostly complete and the pieces are spread out over a couple of different UV sets. I had to delete a couple pieces for the vent section that I originally had since they didn't line up. They don't line up perfectly right now but hopefully, the texturing will make it so that the overlap of certain pieces doesn't matter.
----------------------------------------------------------------------------------------------------------------------------
WEEK 2 SPRINT REVIEW
This week I was focused on working on the modular pieces for our Five Nights at Freddy's 2 set. My main task was the modeling/UVing of the walls so that we could eventually texture them as well. After doing the Models, UV's and ID's
I first started by creating the models for the walls that we would have and scaled them relative to a human. I also tested them in Unity on the base player controller so that we could take a peek at the scale. Since we're probably just going to make our own player controller, we will likely keep the scale as is. I used the reference photos we got from last week to figure out the shape of these walls so that they can line up with texturing.
I wanted to make sure the top and bottom parts of the walls have the same texture while the center lined areas also have their own. I decided to use vertex colors for color ID to make it easier to texture.
I also made sure to UV all these pieces and I feel like the UV's are some of the best that I've ever made. They fit perfectly in the 1-1 space and all the similar ones are stacked. Since we're limited to only 12 UV sets I decided that it was fine to put them in 1 UV set since we will likely have a few more
I will also do a rough blockout to make sure all the pieces match and add extra if they don't. I'll also begin on the vent sections of the map so that we can crawl through the tunnels. I think that'll be a fun challenge.
----------------------------------------------------------------------------------------------------------------------------
Week 1 Sprint Review
This week, or rather a couple of days we started gathering our references and figuring out what we needed to produce. I gathered references for how we wanted the scene to look and began opening the Maya project and assigning assets to each other.
We are going to have a few different key assets. I will likely start with the walls of the scene so that we can get a general scale going and figure out how big we're gonna make the scene.
Having the walls done will make sure that we have a scale in-tact and we can build the rest of it off of there. I think we'll have 5 pieces so far,
Normal walls, Party Room walls, Vent walls, Floors, and roofs are all on my to-do list as of now. We've decided that the pieces will be modular so that way we can customize how we want to have our building laid out. I think this is a good way to do it right now since we aren't sure how big we're gonna make the map, but it'll be cool to see where it goes.


No comments:
Post a Comment